How to integrate Checkvist MCP with Claude Code

Manage your Checkvist directly from Claude Code with zero worries about OAuth hassles, API-breaking issues, or reliability and security concerns. You can do this in two different ways: Via Composio Connect - Direct and easiest approach Via Composio SDK - Programmatic approach with more control

Checkvist logoCheckvist
Api Key

Checkvist is an online outliner and task manager for hierarchical lists, notes, tags, due dates, and assignees. Use it to plan projects, capture ideas, and organize work in clean nested lists.

16 Tools

Introduction

Manage your Checkvist directly from Claude Code with zero worries about OAuth hassles, API-breaking issues, or reliability and security concerns.

You can do this in two different ways:

  1. Via Composio Connect - Direct and easiest approach
  2. Via Composio SDK - Programmatic approach with more control

Also integrate Checkvist with

Why use Composio?

  • Only one MCP URL to connect multiple apps with Claude Code with zero auth hassles.
  • Programmatic tool calling allows LLMs to write its code in a remote workbench to handle complex tool chaining. Reduces to-and-fro with LLMs for frequent tool calling.
  • Handling Large tool responses out of LLM context to minimize context rot.
  • Dynamic just-in-time access to 20,000 tools across 1000+ other Apps for cross-app workflows. It loads the tools you need, so LLMs aren't overwhelmed by tools you don't need.

Connecting Checkvist to Claude Code using Composio

1. Add the Composio MCP to Claude

Terminal

2. Start Claude Code

bash
claude

3. Open your MCP list

bash
/mcp

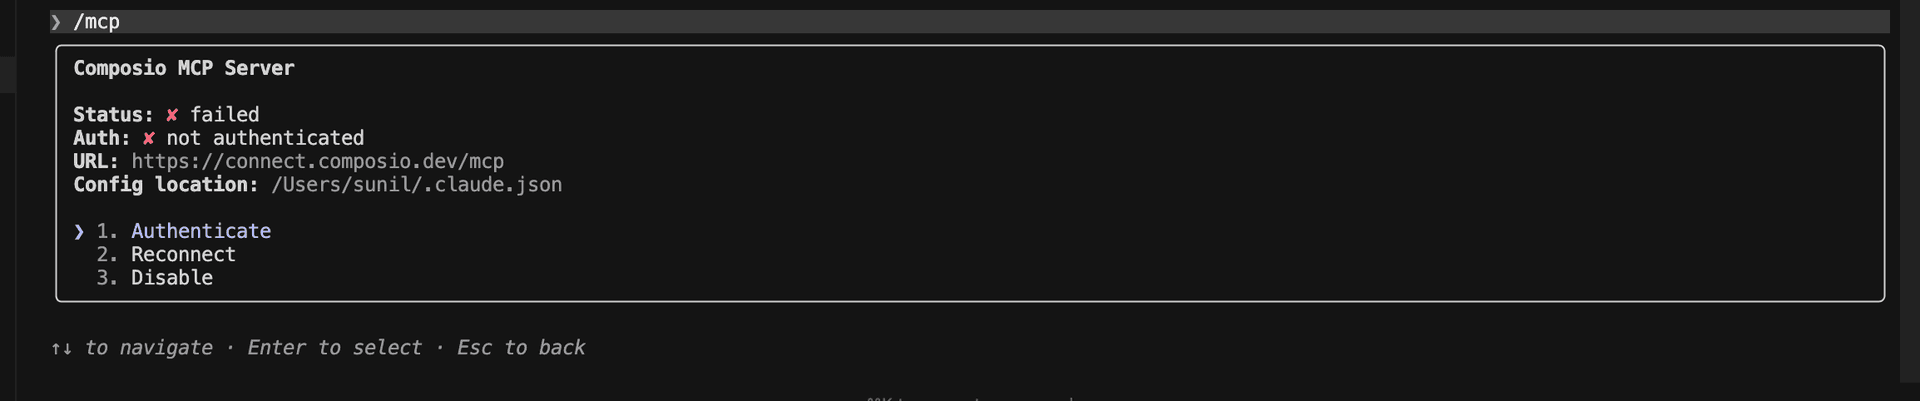
4. Select Composio and click on Authenticate

Select Composio and click Authenticate

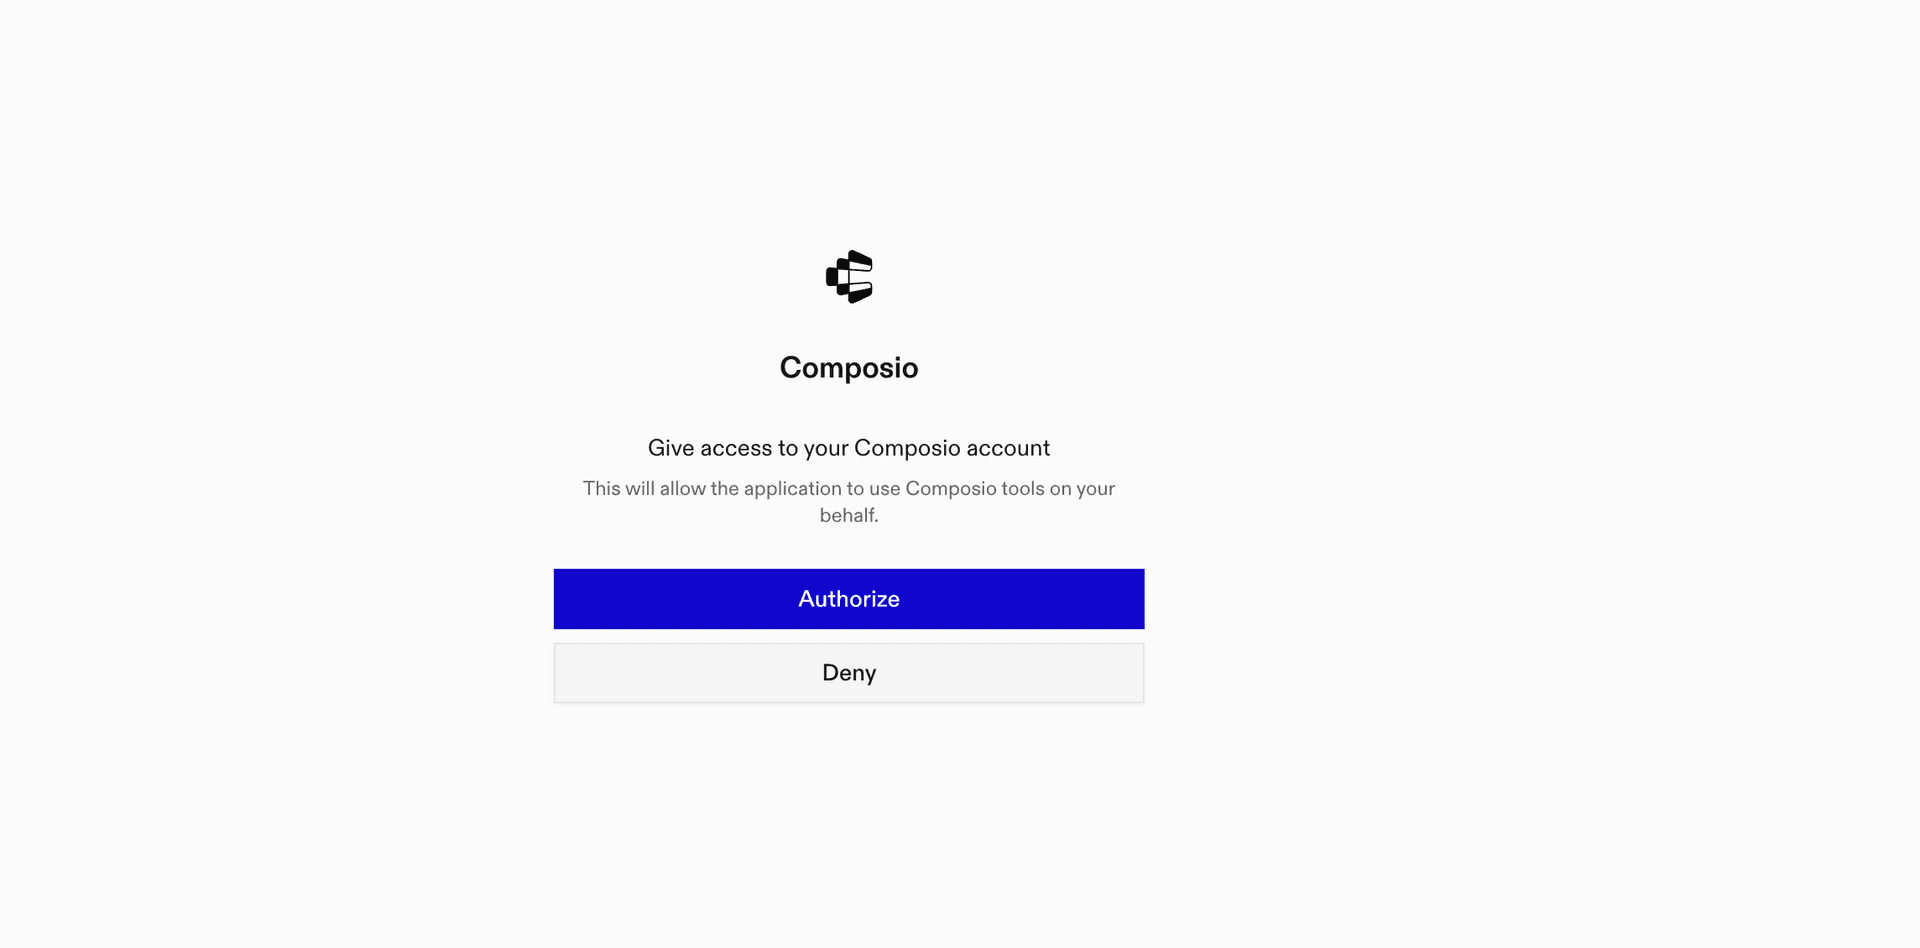
5. This will redirect you to the Composio OAuth page. Complete the flow by authorizing Composio and you're all set.

Composio OAuth authorization page
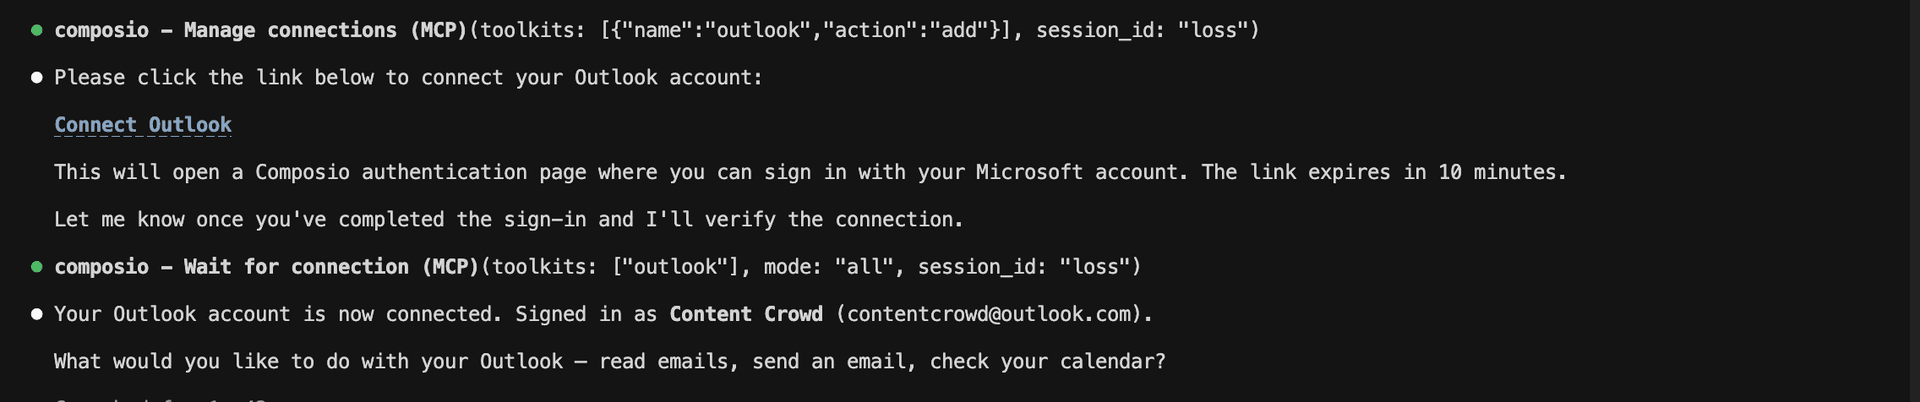
Composio authorization complete
Ask Claude to connect to your account and authenticate via the link

What is the Checkvist MCP server, and what's possible with it?

The Checkvist MCP server is an implementation of the Model Context Protocol that connects your AI agent and assistants like Claude, Cursor, etc directly to your Checkvist account. It provides structured and secure access to your checklists, tasks, tags, due dates, assignees, and task notes, so your agent can create lists, organize task hierarchies, search tasks, update assignments, and track task status on your behalf.

  • Checklist creation and organization: Have your agent create, rename, tag, review, or delete checklists, including archived and private lists.
  • Hierarchical task planning: Let the agent create individual tasks or import complete task hierarchies, then arrange subtasks, priorities, positions, due dates, tags, and assignees.
  • Task search and review: Instruct your agent to search across checklists by keywords, due dates, tags, status, or notes, and read checklist outlines or task trees.
  • Status and detail updates: Direct your agent to close, reopen, or invalidate tasks, update their content and placement, and add or remove tags.
  • Checklist restructuring and cleanup: Have your agent replace an existing task hierarchy with an updated outline or permanently remove tasks and their subtasks.

Connecting Checkvist via Composio SDK

Composio SDK is the underlying tech that powers Rube. It's a universal gateway that does everything Rube does but with much more programmatic control. You can programmatically generate an MCP URL with the app you need (here Checkvist) for even more tool search precision. It's secure and reliable.

How the Composio SDK works

The Composio SDK follows a three-phase workflow:

  1. Discovery: Searches for tools matching your task and returns relevant toolkits with their details.
  2. Authentication: Checks for active connections. If missing, creates an auth config and returns a connection URL via Auth Link.
  3. Execution: Executes the action using the authenticated connection.

Step-by-step Guide

Step by step10 STEPS
1

Prerequisites

Before starting, make sure you have:
  • Claude Pro, Max, or API billing enabled Anthropic account
  • Composio API Key
  • A Checkvist account
  • Basic knowledge of Python or TypeScript
2

Install Claude Code

bash
# macOS, Linux, WSL
curl -fsSL https://claude.ai/install.sh | bash

# Windows PowerShell
irm https://claude.ai/install.ps1 | iex

# Windows CMD
curl -fsSL https://claude.ai/install.cmd -o install.cmd && install.cmd && del install.cmd

To install Claude Code, use one of the following methods based on your operating system:

3

Set up Claude Code

bash
cd your-project-folder
claude

Open a terminal, go to your project folder, and start Claude Code:

  • Claude Code will open in your terminal
  • Follow the prompts to sign in with your Anthropic account
  • Complete the authentication flow
  • Once authenticated, you can start using Claude Code
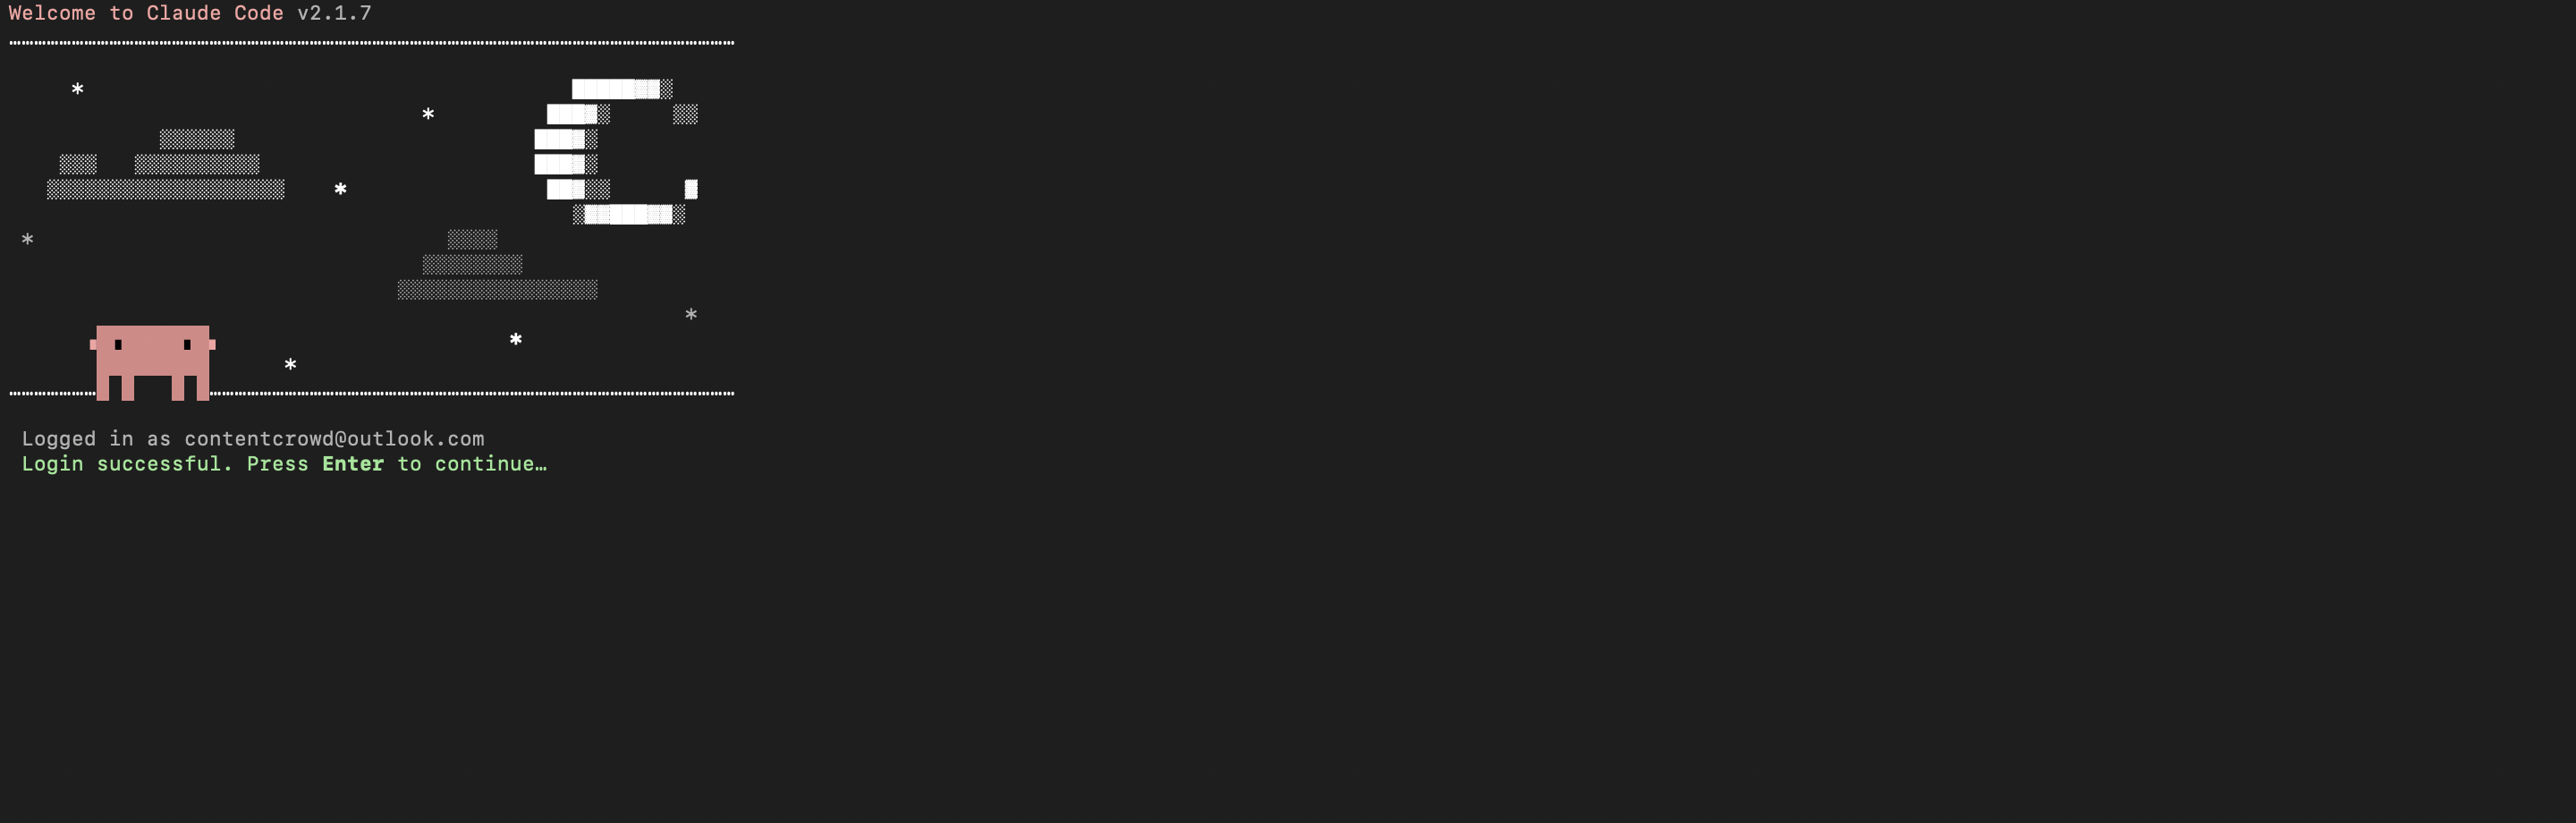
Claude Code initial setup showing sign-in prompt
Claude Code terminal after successful login
4

Set up environment variables

bash
COMPOSIO_API_KEY=your_composio_api_key_here
USER_ID=your_user_id_here

Create a .env file in your project root with the following variables:

  • COMPOSIO_API_KEY authenticates with Composio (get it from Composio dashboard)
  • USER_ID identifies the user for session management (use any unique identifier)
5

Install Composio library

npm install @composio/core dotenv

Install the Composio TypeScript library to create MCP sessions.

  • @composio/core provides the core Composio functionality
  • dotenv loads environment variables from your .env file
6

Generate Composio MCP URL

import 'dotenv/config';
import { Composio } from '@composio/core';

const { COMPOSIO_API_KEY, USER_ID } = process.env;

if (!COMPOSIO_API_KEY || !USER_ID) {
  throw new Error('COMPOSIO_API_KEY and USER_ID required in .env');
}

const composioClient = new Composio({ apiKey: COMPOSIO_API_KEY });

const composioSession = await composioClient.create(USER_ID, {
  toolkits: ['checkvist'],
});

const composioMcpUrl = composioSession?.mcp.url;

console.log(`MCP URL: ${composioMcpUrl}`);
console.log(`\nUse this command to add to Claude Code:`);
console.log(`claude mcp add --transport http checkvist-composio "${composioMcpUrl}" --headers "X-API-Key:${COMPOSIO_API_KEY}"`);

Create a script to generate a Composio MCP URL for Checkvist. This URL will be used to connect Claude Code to Checkvist.

What's happening

  • We import the Composio client and load environment variables
  • Create a Composio instance with your API key
  • Call create() to create a Tool Router session for Checkvist
  • The returned mcp.url is the MCP server URL that Claude Code will use
  • The script prints this URL so you can copy it
7

Run the script and copy the MCP URL

node --loader ts-node/esm generate_mcp_url.ts
# or if using tsx
tsx generate_mcp_url.ts

Run your TypeScript script to generate the MCP URL.

  • The script connects to Composio and creates a Tool Router session
  • It prints the MCP URL and the exact command you need to run
  • Copy the entire claude mcp add command from the output
8

Add Checkvist MCP to Claude Code

bash
claude mcp add --transport http checkvist-composio "YOUR_MCP_URL_HERE" --headers "X-API-Key:YOUR_COMPOSIO_API_KEY"

# Then restart Claude Code
exit
claude

In your terminal, add the MCP server using the command from the previous step. The command format is:

  • claude mcp add registers a new MCP server with Claude Code
  • --transport http specifies that this is an HTTP-based MCP server
  • The server name (checkvist-composio) is how you'll reference it
  • The URL points to your Composio Tool Router session
  • --headers includes your Composio API key for authentication

After running the command, close the current Claude Code session and start a new one for the changes to take effect.

9

Verify the installation

bash
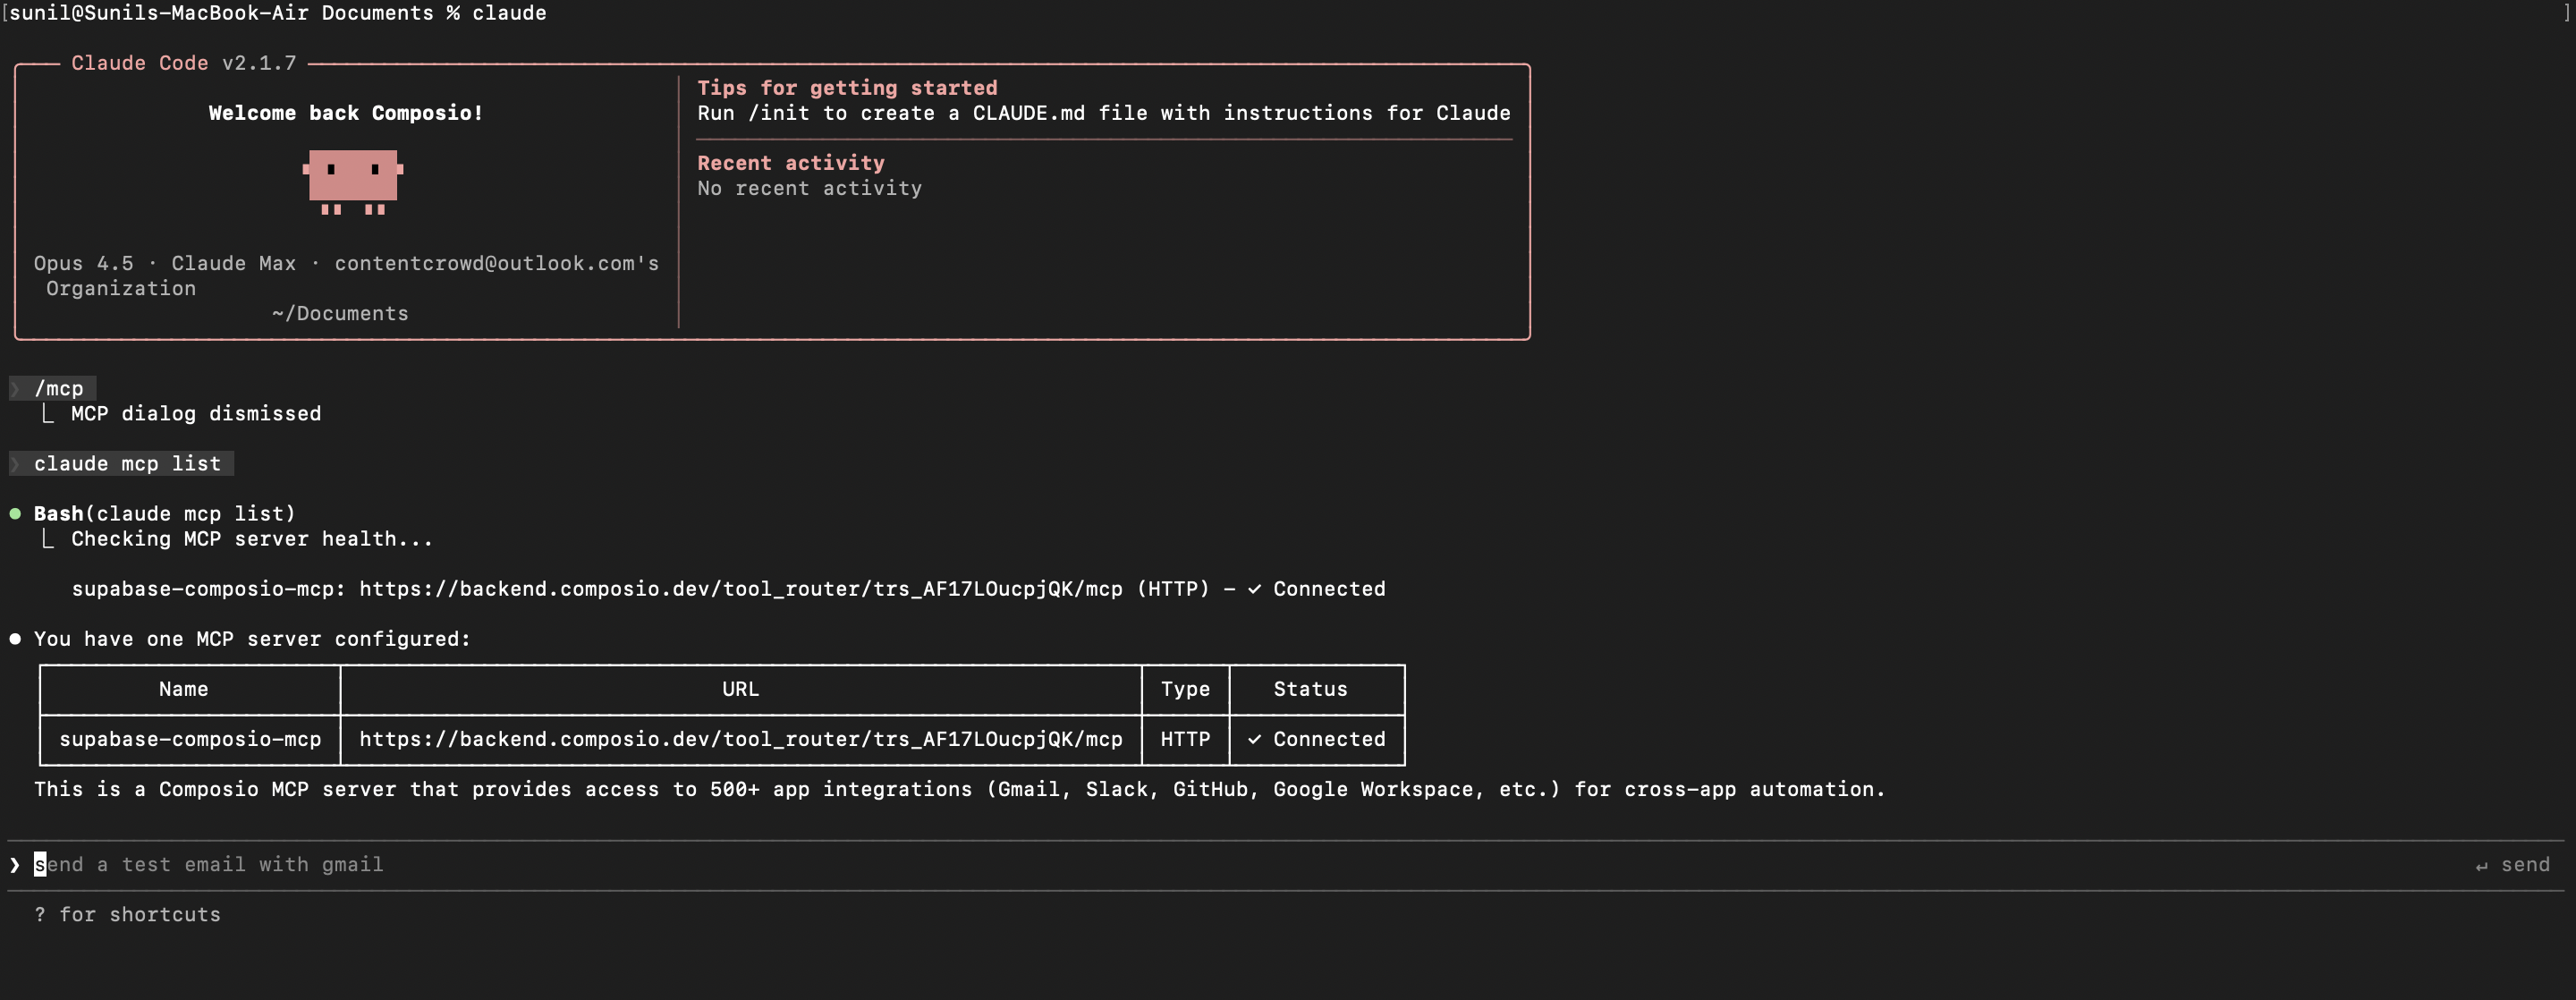
claude mcp list

Check that your Checkvist MCP server is properly configured.

  • This command lists all MCP servers registered with Claude Code
  • You should see your checkvist-composio entry in the list
  • This confirms that Claude Code can now access Checkvist tools

If everything is wired up, you should see your checkvist-composio entry listed:

Claude Code MCP list showing the toolkit MCP server
10

Authenticate Checkvist

The first time you try to use Checkvist tools, you'll be prompted to authenticate.

  • Claude Code will detect that you need to authenticate with Checkvist
  • It will show you an authentication link
  • Open the link in your browser (or copy/paste it)
  • Complete the Checkvist authorization flow
  • Return to the terminal and start using Checkvist through Claude Code

Once authenticated, you can ask Claude Code to perform Checkvist operations in natural language. For example:

  • "Create Checkvist tasks from meeting notes"
  • "List overdue Checkvist tasks by assignee"
  • "Tag Checkvist roadmap items due this week"

Complete Code

Here's the complete code to get you started with Checkvist and Claude Code:

import 'dotenv/config';
import { Composio } from '@composio/core';

const { COMPOSIO_API_KEY, USER_ID } = process.env;

if (!COMPOSIO_API_KEY || !USER_ID) {
  throw new Error('COMPOSIO_API_KEY and USER_ID required in .env');
}

const composioClient = new Composio({ apiKey: COMPOSIO_API_KEY });

const composioSession = await composioClient.create(USER_ID, {
  toolkits: ['checkvist'],
});

const composioMcpUrl = composioSession?.mcp.url;

console.log(`MCP URL: ${composioMcpUrl}`);
console.log(`\nUse this command to add to Claude Code:`);
console.log(`claude mcp add --transport http checkvist-composio "${composioMcpUrl}" --headers "X-API-Key:${COMPOSIO_API_KEY}"`);

Conclusion

You've successfully integrated Checkvist with Claude Code using Composio's MCP server. Now you can interact with Checkvist directly from your terminal using natural language commands.

Key features of this setup:

  • Terminal-native experience without switching contexts
  • Natural language commands for Checkvist operations
  • Secure authentication through Composio's managed MCP
  • Tool Router for dynamic tool discovery and execution

Next steps:

  • Try asking Claude Code to perform various Checkvist operations
  • Add more toolkits to your Tool Router session for multi-app workflows
  • Integrate this setup into your development workflow for increased productivity

You can extend this by adding more toolkits, implementing custom workflows, or building automation scripts that leverage Claude Code's capabilities.

TOOLS

Supported Tools

Every Checkvist action and event your agent gets out of the box.

Create Checklist

Create a Checkvist checklist with a name and optional visibility and tags.

Create Task

Create a task in a checklist, optionally under a parent and with tags, smart-syntax due date, position, priority, or assignees.

Delete Checklist

Mark a Checkvist checklist for deletion.

Delete Task

Permanently delete a Checkvist task and all of its child tasks.

Get Checklist

Get one Checkvist checklist's metadata by ID.

Get Tasks Outline

Read a checklist as a recommended markdown task outline, with controls for closed tasks, depth, compact output, or top-level preview.

Get Tasks Page

Read one explicit 1-based page of a large Checkvist checklist.

Get Task Tree

Read one Checkvist task and its subtasks as a markdown outline, optionally including closed items or notes and limiting depth.

Import Tasks

Create multiple hierarchical tasks from Checkvist indented text.

List Checklists

List checklists available to the authenticated Checkvist user, optionally including archived lists or omitting statistics for a faster response.

Replace Tasks

Delete every existing task in a checklist, then replace the hierarchy from Checkvist indented text or OPML.

Search Tasks

Search tasks across the user's Checkvist checklists using words and operators for due date (^ or due:), tag (# or tag:), state (in:), and notes (has:note).

Set Task Status

Set a task's status to closed, reopened, or invalidated using Checkvist's dedicated status operations.

Update Checklist

Update an existing checklist's name, visibility, or complete tag set.

Update Task

Update task content, hierarchy, replacement tags, due date, position, priority, assignees, or smart-syntax parsing.

Update Task Tags

Add and remove task tags without replacing the complete tag set.

FAQ

Frequently asked questions

With a standalone Checkvist MCP server, the agents and LLMs can only access a fixed set of Checkvist tools tied to that server. However, with the Composio Tool Router, agents can dynamically load tools from Checkvist and many other apps based on the task at hand, all through a single MCP endpoint.

Yes, you can. Claude Code fully supports MCP integration. You get structured tool calling, message history handling, and model orchestration while Tool Router takes care of discovering and serving the right Checkvist tools.

Yes, absolutely. You can configure which Checkvist scopes and actions are allowed when connecting your account to Composio. You can also bring your own OAuth credentials or API configuration so you keep full control over what the agent can do.

All sensitive data such as tokens, keys, and configuration is fully encrypted at rest and in transit. Composio is SOC 2 Type 2 compliant and follows strict security practices so your Checkvist data and credentials are handled as safely as possible.

Start with Checkvist.It takes 30 seconds.

Managed auth, hosted MCP servers, and every Checkvist tool your agent needs.Free to start.

Start building